Apr. 8-15
- Julia Goforth

- Mar 12, 2018
- 1 min read
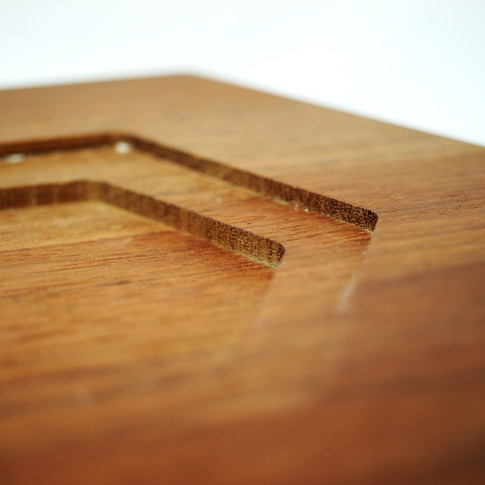
Here is the wooden serving platter I made to display the chocolate puzzle on:
I went to a local chocolate shop in the Blacksburg area called Chocolate Spike. I bought four different types of chocolate to create the variation in color I was looking for with my final puzzle design. I picked up dark chocolate, semi-sweet, milk, and white chocolate.
Then I melted the chocolate pieces in batches with a double boiler to the temperature recommended for each type of chocolate. I used 120°F for the dark chocolate , 117°F for the semi-sweet, 115°F for the milk chocolate, and 110°F for the white chocolate. In order to get a good tempering on the chocolate I actually heated them all up slightly above these temperatures so as to be able to add in some chopped chocolate and stir it, to bring down the temperature to what is listed above.
For every 1/4 inch of solid chocolate, the piece needed ten minutes to harden in a refrigerator. All of my pieces but one were 3/4 inch in depth and took thirty minutes to completely harden. The piece that was larger took closer to forty-five minutes to be completely solid inside.
Here are some photographs of my finished chocolate puzzle. This dessert was also served with three dipping sauces—raspberry, caramel, and honey.
The silicone material took in all the details that the 3D print pieces had, showing the many lines of plastic material layered on top of each other. And this texture was transferred to the chocolate surface.
To read about my final pinup, click here


Comments